BASE PREPARATION
Location
When thinking of a spot to put the shed, keep a couple considerations in mind
- Ideally, locate your base in a well drained area, where your shed isn’t going to collect a lot of moisture
- We suggest the base to be a foot larger around the perimeter. For example if your shed is 8×10, we suggest a 10×12 base, in order to catch water runoff from the roof.
- ¾” clear stone is what we recommend in order to allow proper drainage, to prevent rodents from digging underneath and to prevent heaving from frost.
Process
Once you have your location set, it’s time to prepare the base
- Mark the perimeter for the base. You can do this with either flags, stakes, spray paint etc.
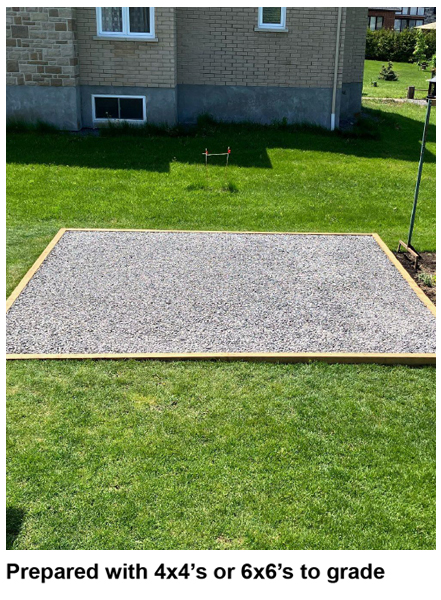
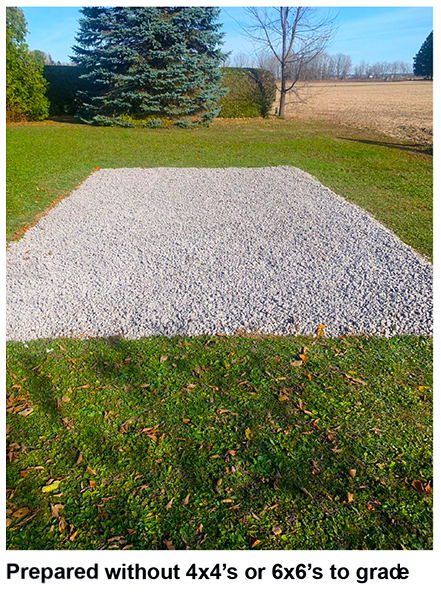
- When the perimeter is set, excavate down 4-6 inches and install geotextile or landscaping material.
- Fill to grade with ¾” clearstone, raked level, which does not need to be compacted.